The Apache HTTP Server is a free and open-source web server that delivers our content through the internet using the web service. It supports maximum all operating systems like UNIX, Windows, Linux, etc. Now it is becoming the most popular HTTP client on the web. Now the latest version of Apache is Apache HTTP Server version 2.4.43. In this tutorial, we will go through the steps of installing Apache on Kali Linux.
Prerequisites
Before starting this tutorial, make sure you are logged in as a user with sudo privileges.
Install Apache on Kali Linux
Apache is available in the default Kali Linux repositories and the installation is pretty straightforward. First, update the Kali and afterward install the apache2 package with the following commands:
Update/upgrade Kali Linux
Now we have to update our Kali Linux packages index list. Open your favorite terminal and enter the following command:
$ sudo apt updateIf you want to display all packages which are scheduled for an update.
$ sudo apt list --upgradableNow we can upgrade individual packages using sudo apt install PCKAGE_NAME or we can upgrade the whole system using
$ sudo apt full-upgrade -y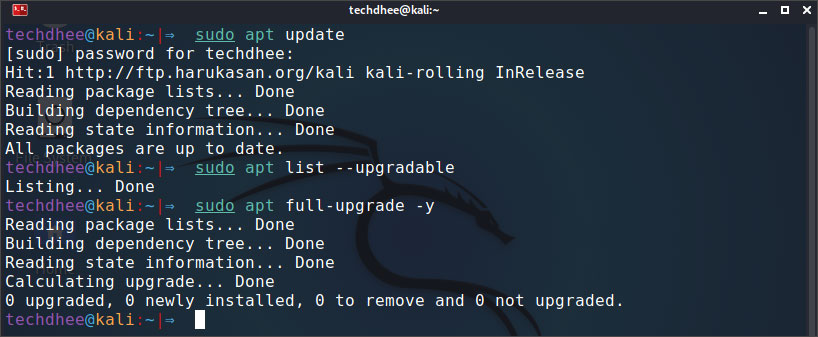
All done. Your Kali Linux system is now fully upgraded. Or you can use all in one command to update and upgrade your Kali Linux using this command.
$ sudo apt update && sudo apt full-upgrade -yInstall Apache2
$ sudo apt install apache2 -yThat’s it, Apache is installed in your Kali Linux and now you have to start the service using this command.
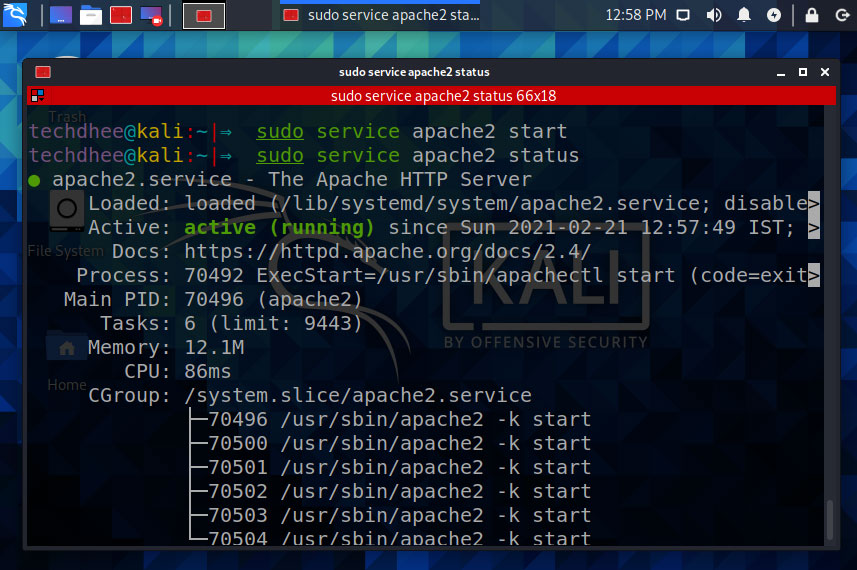
$ sudo service apache2 startNow you can check the status of the Apache service using this command.
$ sudo service apache2 statusVerifying Apache Installation
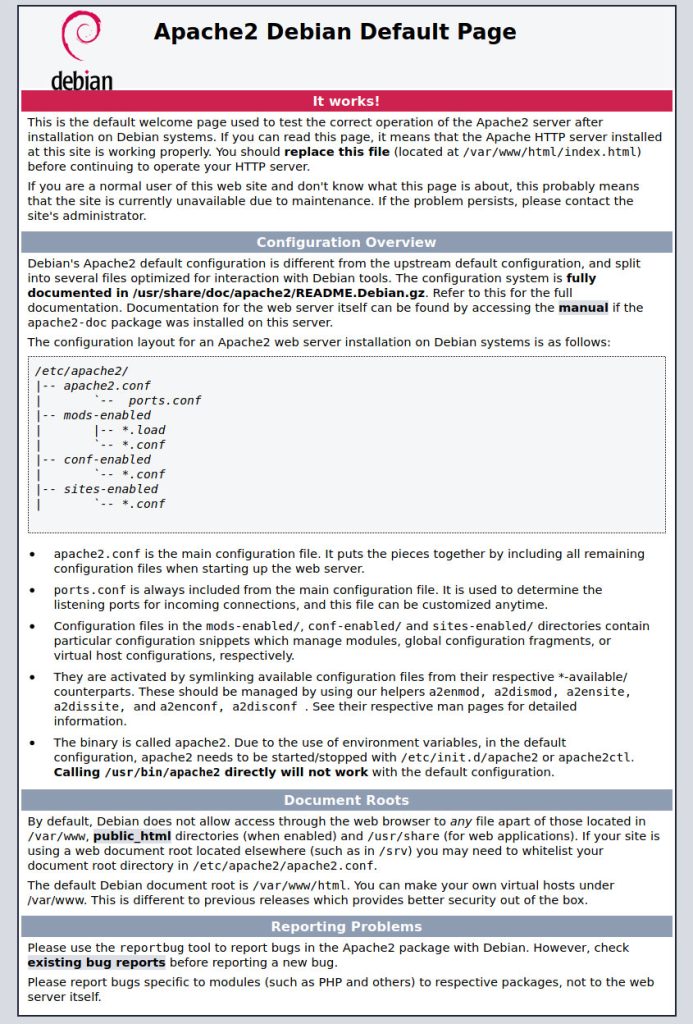
To verify that apache server working correctly in Kali Linux, open your browser, type your server IP address or domain name http://YOUR_IP_OR_DOMAIN/ and you will see the default Apache welcome page as shown below.
Manage the Apache service
Now the Apache server is installed on your system. How to manage the basic apache services, you have to know basic commands:
Stop the Apache service
$ sudo service apache2 stopTo start the Apache service
$ sudo service apache2 startRestart the Apache service
$ sudo service apache2 restartReload the Apache service
Reload the Apache with a new configuration with:
$ sudo service apache2 reloadStart Apache service at boot
If you want to enable the Apache service to start at boot:
$ sudo systemctl enable apache2Stop Apache service at boot
If you want to disable the Apache service to start at boot:
$ sudo systemctl disable apache2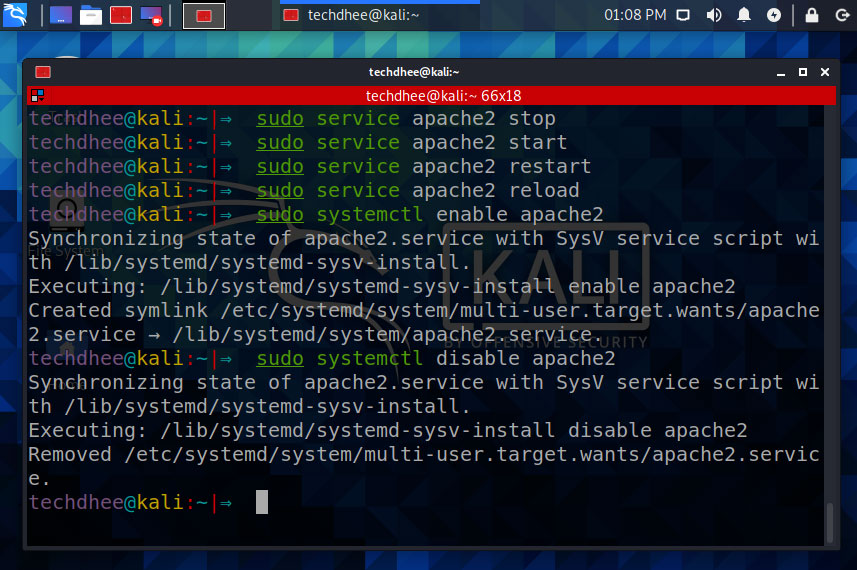
Video
You have successfully install the apache server on your Kali Linux 2022.4 . Now you can host your applications or website and use apache server a proxy server. https://youtu.be/l6de3crYv_k
Important Things To Remember:
The author of this article does not promote any illegal activities It is just for education purpose All the activities provided in this article, YouTube channel, and on the website techdhee.org are only for educational purposes. If you are using and follow this tutorial for any illegal purpose, techdhee.org can not be responsible for your action. My purpose is to educate or share the information who have not, how to secure your self from the Internet, and the world of digital. Also, read the Disclaimer
Finally
Thank you for reading this post and keep connected to TECH DHEE to continue enjoying excellent posts. Share your views about this post in the comment section below. If you still have any queries, throw it in the comment section. If you find this post helpful, don’t hesitate to share this post on your social network. It will only take a moment, and also it is quite easy and useful for others.
Related Post
- Top 10 Kali Linux Tools for Hacking
- How to Install Zenmap in Kali Linux
- How To Install Htop on Linux
- How To Get root Access in Kali Linux
- How To Use ProxyChains in Kali Linux
- Ghost Framework in Kali Linux
- How To Install DVWA in Kali Linux 2022.4
- How To Make root User Terminal colorful in Kali Linux
- How to Update Kali Linux
