by
by 
In this article, we are going to learn how to install DVWA in Kali Linux. Damn Vulnerable Web App (DVWA) is a PHP or MySQL web application that is damn vulnerable. Its main goals are to give the environment for security professionals to test their skills and tools in a legal environment, help web developers better understand the processes of securing web applications.
How To Install DVWA in Kali Linux
Update/Upgrade Kali Linux
Now we have to update our Kali Linux packages index list. Open your favorite terminal and enter the following command:
sudo apt updateIf you want to display all packages which are scheduled for an update.
sudo apt list --upgradableNow we can upgrade individual packages using sudo apt install PCKAGE_NAME or we can upgrade the whole system using
sudo apt full-upgrade -y
All done. Your Kali Linux system is now fully upgraded. Or you can use all in one command to update and upgrade your Kali Linux using this command.
sudo apt update && sudo apt full-upgrade -yDownload the latest DVWA
Now we have to download the DVWA from the official website. Or you can also download and install from GitHub.
Server Directory
cd /var/www/html/var/www/html is just the default root folder of the web server. You can change that to be whatever folder you want. most of the popular web servers use it as the default path. where you have to install a framework such as PHP, or the folder you want to install your website on.
Download the DVWA from GitHub:
open your terminal and copy the following code and paste in the terminal.
sudo git clone https://github.com/digininja/DVWA.git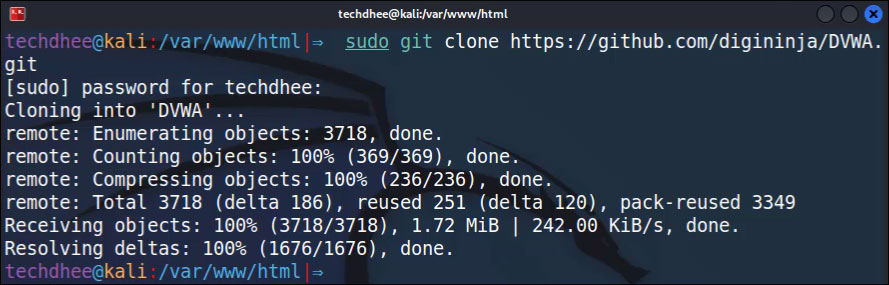
Now our DVWA is downloaded successfully. Next step is configure the DVWA server in the Kali Linux.
Set Permissions:
Now we have to set the permission to downloaded directory which is DVWA.
sudo chmod -R 777 DVWAThis command give the permissions to all files and directory inside the DVWA directory. Here 777 means DVWA directory readable, writable and executable by all users.

Configure the DVWA
Now go the the DVWA configuration directory which location is this:
cd /var/www/html/DVWA/config/Here we can see the default configuration file of DVWA. Make a copy of it. And rename to config.inc.php.
sudo cp config.inc.php.dist config.inc.phpAlways make a copy do not rename the original file. In the future original file, may be needed. Now we have to edit the config.inc.php file. So open this file using your favorite text editor. I am using Nano text editor here.
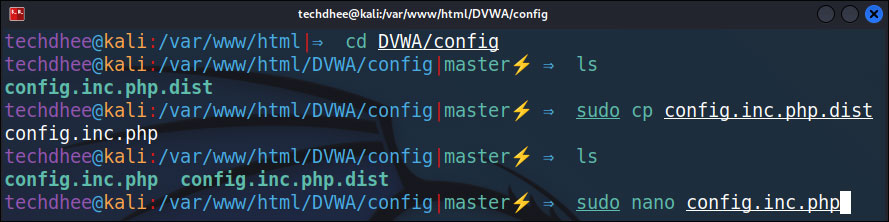
sudo nano config.inc.php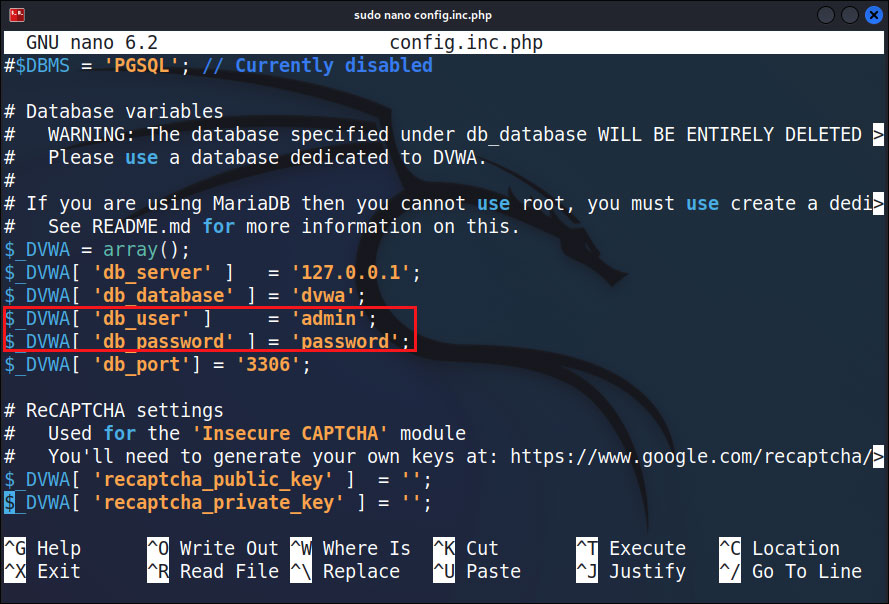
So this is the default configuration file of DVWA. You can use the default settings. Or you can do some changes. Like I am changing the database username and password.
Set up the Database for DVWA
Start the Services
First of all we have to start the MySQL service using following command in the terminal:
sudo service mysql startLogin into MySQL Server
Now we have to login inti the MySQL server. So you can use the root user as well as other users who have full permissions.
sudo mysql -u root -p[alert style=”info”]Note:- You can use the other users here. Not only root, only other user have full permissions like root user have.[/alert]
Create Database:
Now next step is create the database using this command:
create database dvwa;[alert]Here database name should be same which is setup in the DVWA configuration file.[/alert]
Create New User:
Now we have to create the new user in the MySQL. Username and password is the same which we configured the the DVWM configuration file.
create user 'admin'@'127.0.0.1' identified by 'password';Grant the Permissions:
Now next step is grant the all privileges to newly crate user over the database.
grant all privileges on dvwa.* to 'admin'@'127.0.0.1';Now after this you have to exit from the database using exit command.
Configure the PHP.INI file
Now we have to configure the php.ini file. So you can use your favorite text editor. in this tutorial we are using the nano text editor. So command is:
sudo nano /etc/php/8.1/apache2/php.ini[alert]Here in this tutorial I am using PHP version 8.1, in your cases it may be changed so do not panic.[/alert] So here in this file find the Fopen Wrappers. And the two settings should be on.
ALLOW URL f open = on
ALLOW URL INCLUDE = on
Save the file and exit from the text editor.
Start the web server:
Now final step is start the web server. We are sing apache2 web server and this server is already installed in the Kali Linux latest version.
sudo service apache2 start
Now open the web browser and open you local web server. And path is http://127.0.0.1/DVWA Now here login with you credentials.
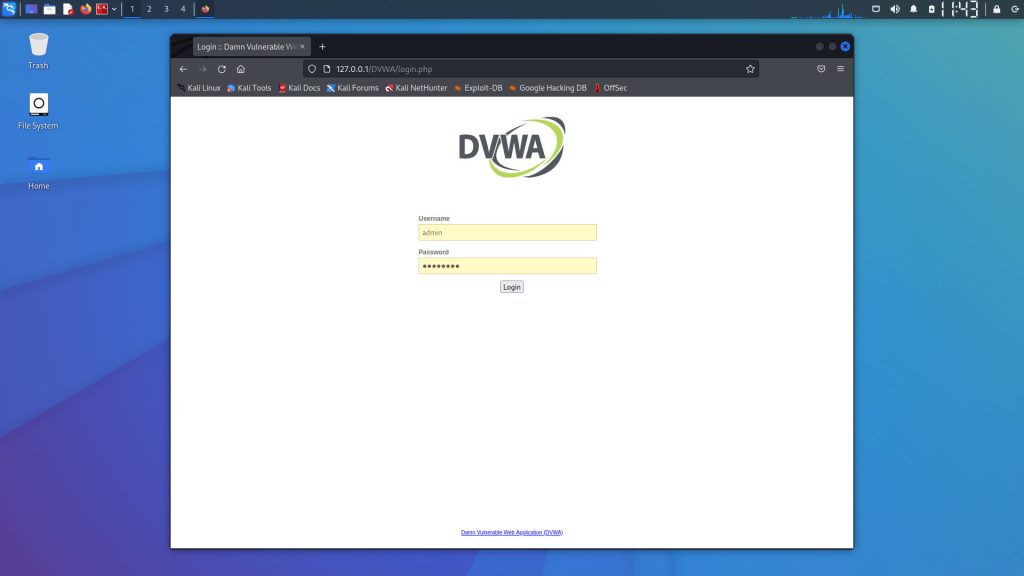
[alert style=”info”]Default username is admin and passwords is password.[/alert] Now you can use the DVWA in you Kali Linux.
Video:
Conclusion
This is the best project out there where you can polish you skills in cyber security or web securing application. You can easily deploy in your Kali Linux. Good luck!
Important Things To Remember:
The author of this article does not promote any illegal activities It is just for education purpose All the activities provided in this article, YouTube channel, and on the website techdhee.org are only for educational purposes. If you are using and follow this tutorial for any illegal purpose, techdhee.org can not be responsible for your action. My purpose is to educate or share the information who have not, how to secure your self from the Internet, and the world of digital. Also, read the Disclaimer
Finally
Thank you for reading this post and keep connected to TECH DHEE to continue enjoying excellent posts. Share your views about this post in the comment section below. If you still have any queries, throw it in the comment section. If you find this post helpful, don’t hesitate to share this post on your social network. It will only take a moment, and also it is quite easy and useful for others.
Related Post