by
by 
In this article, I am gonna show to so setup static IP address in your windows computer. It’s important when you are planning on forwarding ports so at the time you have your static IP address so the router can easily forward your port number. Because when you set up port forwarding your router binding all information with ports to the IP address.
Set a Static IP Address in Windows
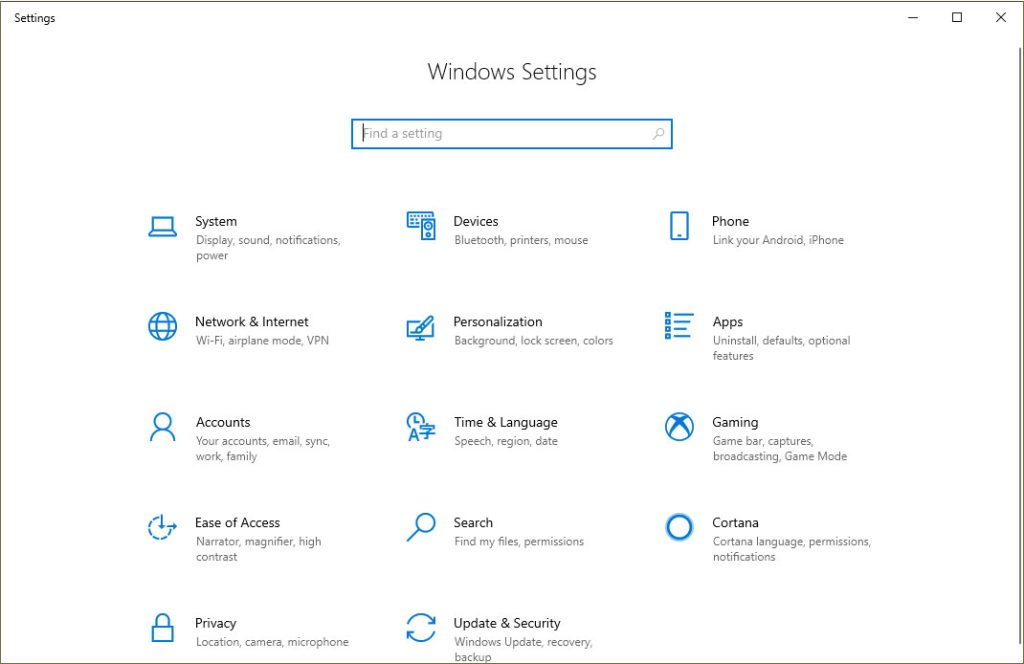
Open Settings
Click the Start menu. Next, click on the Windows Settings option. or you can simply press the Win + I shortcut key to go to Windows Settings.
Network and Sharing Center
Click on the Network and Sharing Center option. or you can open the Run box using the Win+R key and type there ncpa.cpl and click on OK, it will also open the same window.
Ethernet Properties
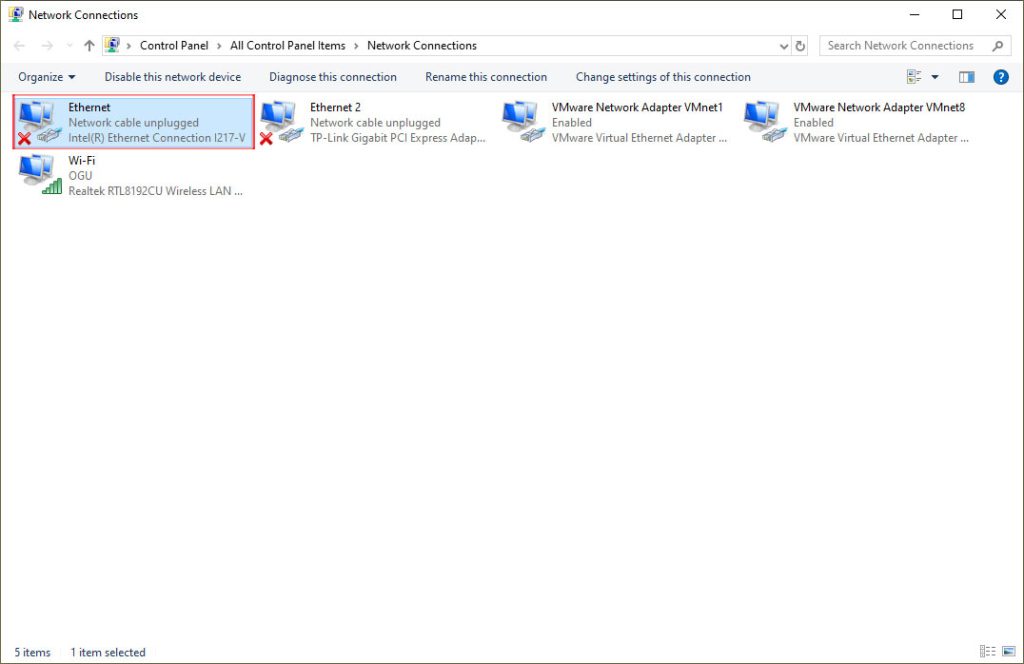
Click on Change adapter settings from the left side menu. Right-click on the Ethernet icon, then select Properties.
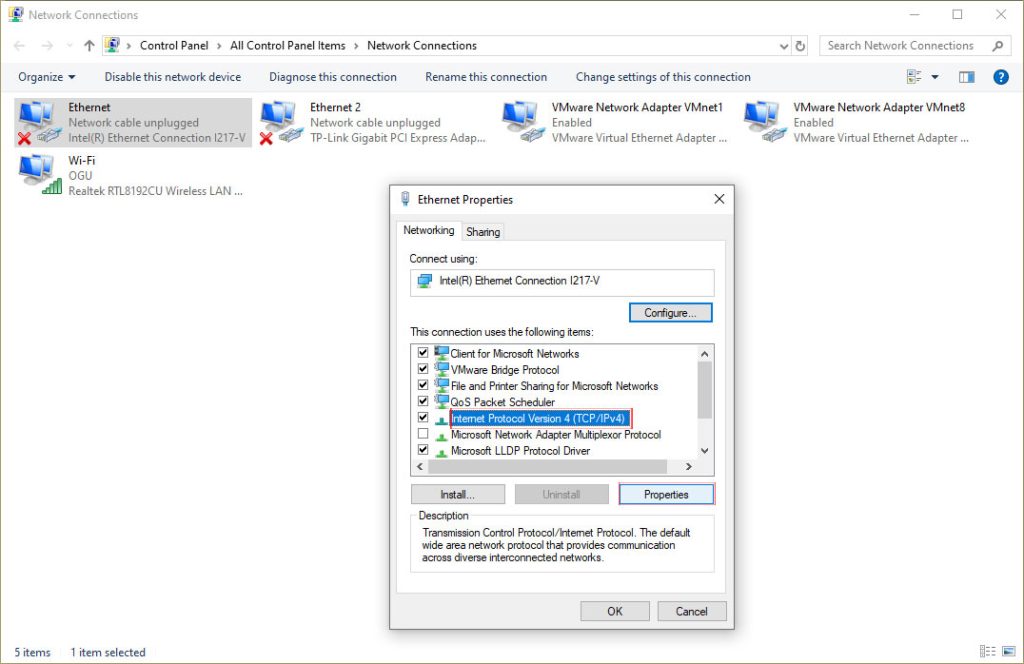
Now here in this window, you have to find the Internet Protocol Version 4 (TCP/IPv4) and double click or select it. Then you have to click on the Properties.
Set static IP address
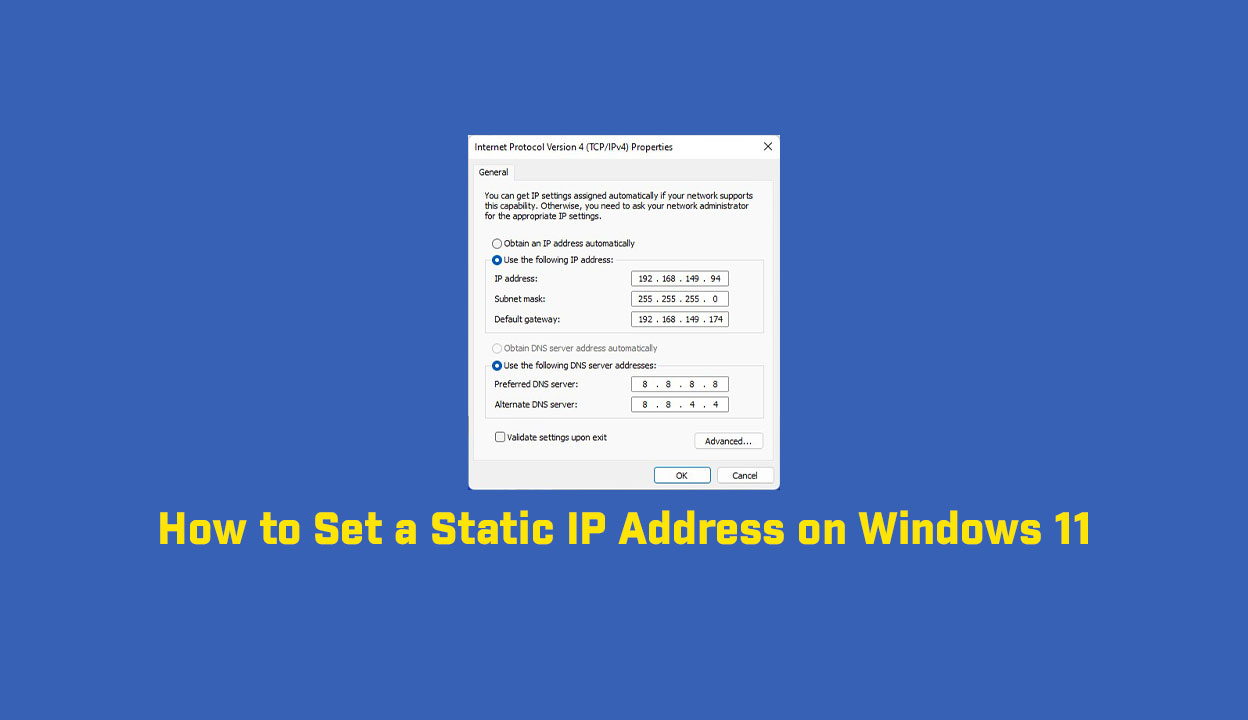
In the window that opens, click the Use the following IP address radio button. And then you have to enter the IP address, Subnet Mask, and Default gateway.
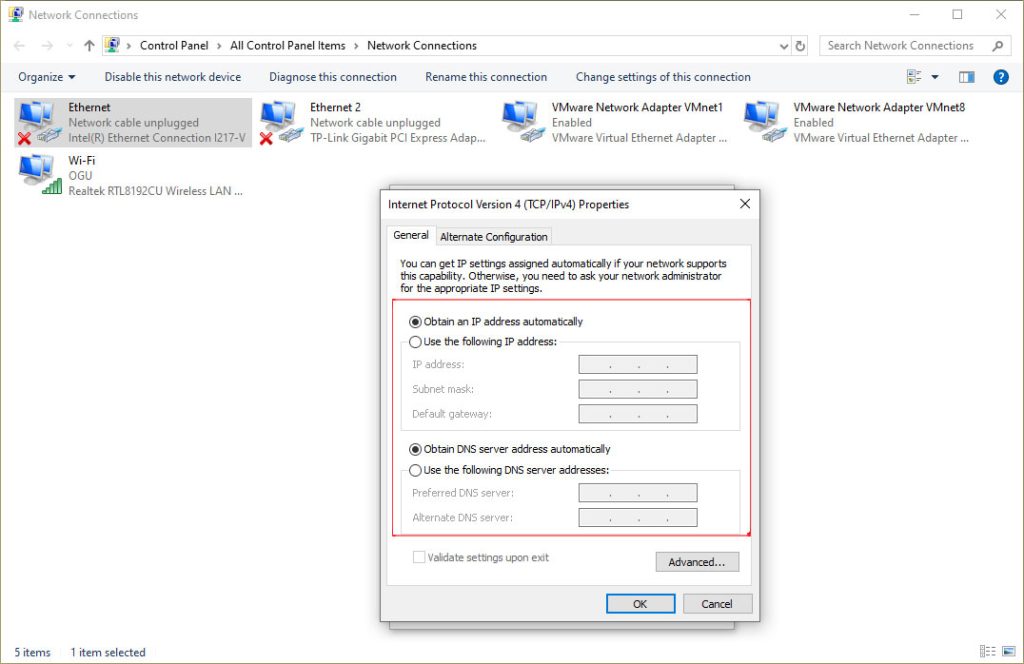
Next, you have to choose the Use the following DNS server addresses: radio button. Here you have to enter the Preferred DNS server (Universal DNS 8.8.8.8), and Alternate DNS server (Universal DNS 8.8.4.4). After entering the IP address and DNS you have to click on OK Now you can start your internet connection with static IP address. If for some reason the internet connection doesn’t start working right away, restart the computer and try again
Video
In this video, you will learn how to set the static IP address in Windows 10 step by step.
Important Things To Remember:
The author of this article does not promote any illegal activities It is just for education purpose All the activities provided in this article, YouTube channel, and on the website techdhee.org are only for educational purposes. If you are using and follow this tutorial for any illegal purpose, techdhee.org can not be responsible for your action. My purpose is to educate or share the information who have not, how to secure your self from the Internet, and the world of digital. Also, read the Disclaimer
Finally
Thank you for reading this post and keep connected to TECH DHEE to continue enjoying excellent posts. Share your views about this post in the comment section below. If you still have any queries, throw it in the comment section. If you find this post helpful, don’t hesitate to share this post on your social network. It will only take a moment, and also it is quite easy and useful for others.
Related Post